There are many steps that be used to make your printed Lanyards in the Lanyard factory.
Each step has its merits and will lend itself differently depending on your design.
Before you decide on to create your own printed lanyards it’s good to understand what goes into each step. This is important so you can see how it might affect your order.
The overall aim is to help you make the right choice for your needs.
This short guide will take you through some of the most popular techniques in the business, and how to make your printed lanyards step by step.
You will also get to know which process will best suit your design.
Step1: Design your printed lanyards production drawing and then pass to the lanyards factory
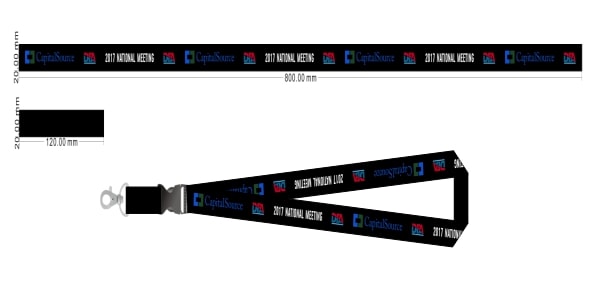
Lanyards Design
Step2: Choose one of the three processes for your logo setup
Choosing the right technique is not as simple and easy as you might imagine.
The production process you choose is the most important part as it will affect your lanyards overall look.
If you choose the wrong process for your design then your lanyards won’t portray the desired effect you imagined.
There are three main methods of producing Lanyards. Dye Sublimation, Screen Printing, and Woven.
The screen printing process is best for one or two colors. The maximum amount of colors we suggest is three but that may still look too busy.
Dye Sublimation is best when you have a design that includes many colors.
Woven is best when you have a really simple design that involves no more than three colors.
All three will provide a vibrant and durable finish for your lanyards.
Below we will tell you more about what is involved in each of the processes.
1.1 Screen Printing
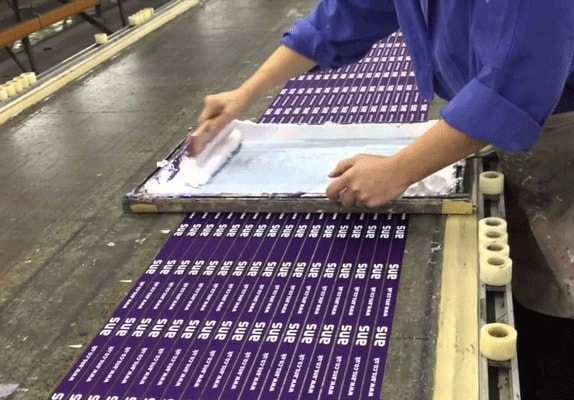
Screen Printed
Screen printing first appeared in a recognizable form in China during the Song Dynasty (960–1279 AD). It was then adopted by other countries like Japan before eventually making it to the west.
Screen printing involves making a print of your logo on a mesh screen and forcing the ink through the mesh onto the lanyard fabric.
For today’s Lanyard screen printing we firstly fix uncut Lanyards side by side to our screen printing table until we have created a canvas that is just under the width of the printing mesh.
We then place our mesh, which has a print of your design on it, over the top of the lanyards.
Then, using very high-quality paint and a rubber squeegee, we scrape paint along the screen which paints your design onto the lanyards.
After we have transferred the paint onto the Lanyards we place them into a heat press underneath a silicone sheet so that the ink sets firmly.
Most of the time you will only print one side of the lanyard with this process but it is possible to print both sides. You just have to make sure you set the ink with the heat press before starting the other side.
This is a cost-effective way to print a single or two color design.
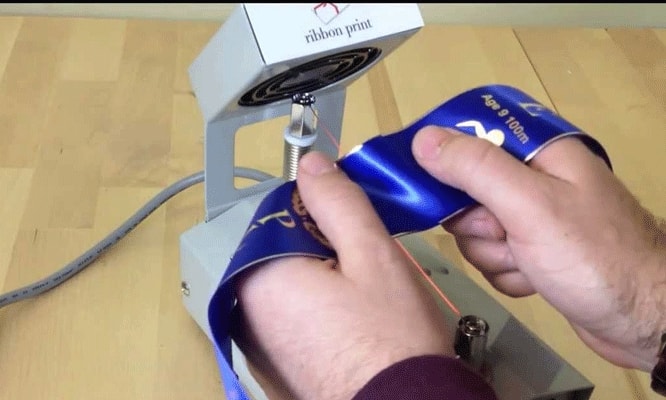
1.2 Dye Sublimation
Dye Sublimation is the most up to date technology when it comes to printing Lanyards.
This process will produce a printed image that is absolutely smooth to the touch. It works like this because the dye bleeds into the material rather than sitting on top.
This printing process creates an edge to edge prints across your lanyards.
Dye Sublimation uses the full Pantone color range. This means that your design can be as intricate as you wish without any loss of detail.
The process starts with a designer adapting your design to the lanyard’s specifications.
The next step involves printing your design onto heat resistant transfer paper as a reverse image of your final design.
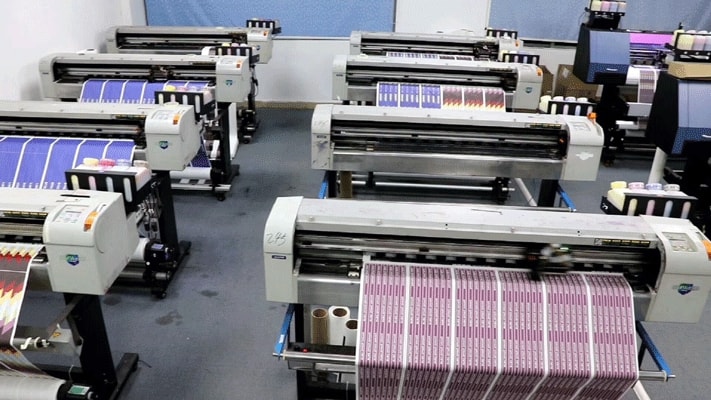
Print onto transfer paper
The image is then transferred onto your material in a heat press operating at temperatures of around 220 degrees Celsius.
dye sublimation
The end result is a vivid print that won’t crack or fade over time.
Dye Sublimation provides almost a photo like quality to your lanyards.
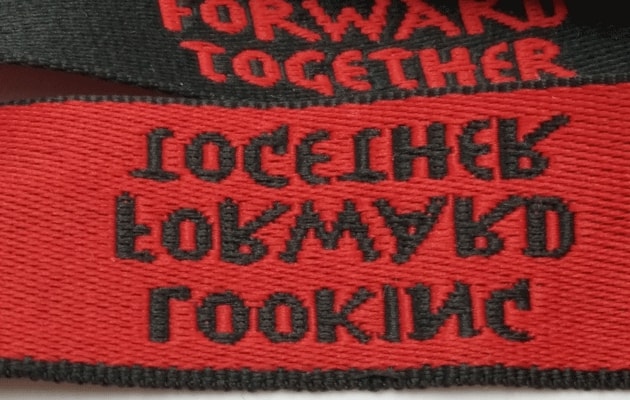
1.3 Woven

Woven
The Woven technique involves weaving your design or text onto the Lanyards, in a similar fashion to embroidery.
This results in a textured more natural feel.
Simple designs are best to prevent the distortion of the design.
It gives a very professional and classic look if done correctly.
We start by programming the design into the machine.
The machine is adjusted to suit your specifications.
After this, the lanyards are fed through the machine and your design is stitched onto them.
The end product is a very strong high-class Lanyard that will feel soft to touch but will last a long time.
Woven
This explanation of the various processes and techniques should give you an idea of what goes into making your lanyards.
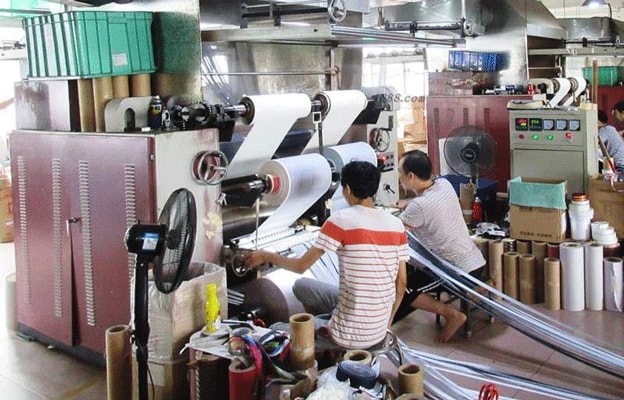
Step3: After your lanyards were printed. The next step is passed all the printed lanyards to the heater cutting dept to cut the printed lanyards into the length required for each lanyard
Heater cut
At this dept, will have someone to control the lanyards quality, such as if the colors match sample? whether the logo of both front and back side matches position? whether the basic webbing width and thickness match sample…
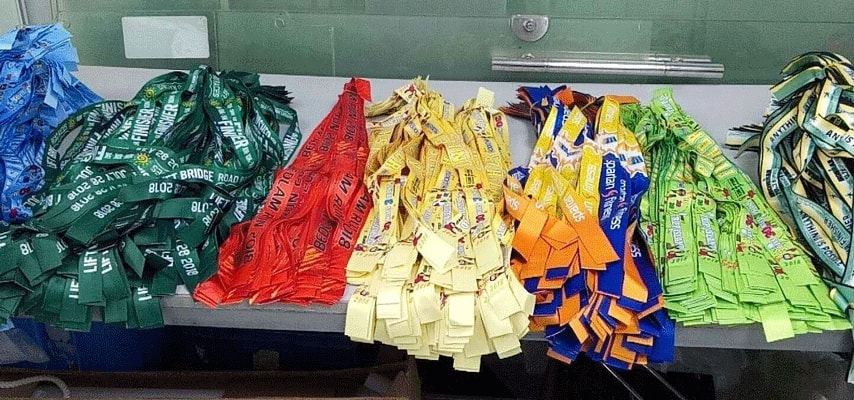
Finished cutting
Step4: All the cutting lanyards will be passed to the next dept which is sewing dept, they will be sewed with the attachment options as the customer require
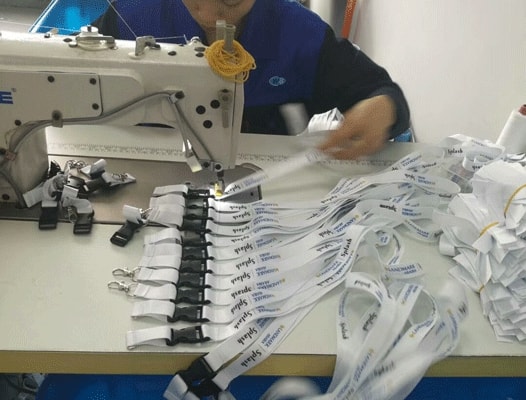
Sewing
Step5: Factory control dept will double check the lanyards whether all parts are correct.
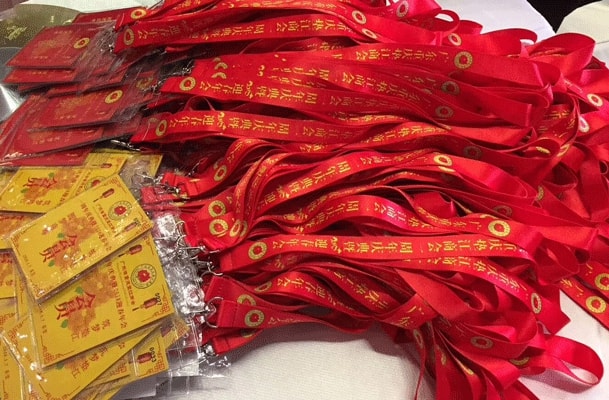
Lanyards
Step6: Packing and then ship out.
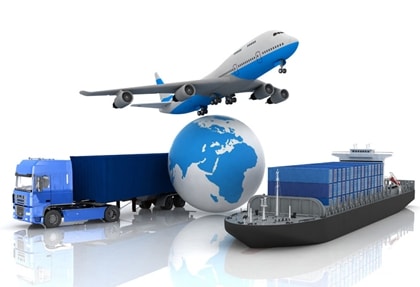
Shipping
This Shows that
If you have any questions about what you’ve read then, please, contact the factory that you have chosen to make your custom lanyards.
A good factory will be happy to explain the processes further.
All of these processes are cost effective and eco-friendly.
Also, they can all be made to suit your budget and schedule.
The main aim is customer happiness; any good factory will always answer your questions as best as they can.
Now you can go on to order your lanyards with more confidence and knowledge.